
Welcome 2011! 2010 was a great year for us, so I was in no rush for 2011, but here it is. Our family has been partying for over a week now and I am looking forward to relaxing from the relaxing :) My husband and eldest daughter didn't make it to midnight, but my 18 month old and I were treated to a fireworks show from my bedroom picture window. Nice! She has been going to bed way too late and sleeping in way too late so I had a feeling this morning that she and I would probably be ringing in the New Year together. It was fun to watch her eyes glued to the bursting fireworks as she babbled "Happy New Year!" It was even more fun to know it was freezing cold outside (-26 C) but we were in the warmth of our home watching this harbinger of the New Year. All while Sister slept in the next room and Daddy snored...

Earlier in the day, when my little one was napping, her sister and I decided to make something to celebrate New Year's Day. We settled on a banner. It was amongst a plethora of New Year's crafts for kids on a site called Kaboose. We gave it our own twist, of course. I thought of making a paper banner but we decided that if we were going to take the time to make it, we might as well make something we can use year after year. While it may be too late for your own New Year's Day banner, this craft can be adapted for any holiday or celebration. We have decided to keep the "Happy" banner up all year round...

New Year's Banner
By Tiffany Teske
What You Need:
- Craft felt in up to 12 colors
- Colorful yarn or string
- Felt glue
- Scissors
- Sharpie
- Sequins; we used very fancy ones...
How To
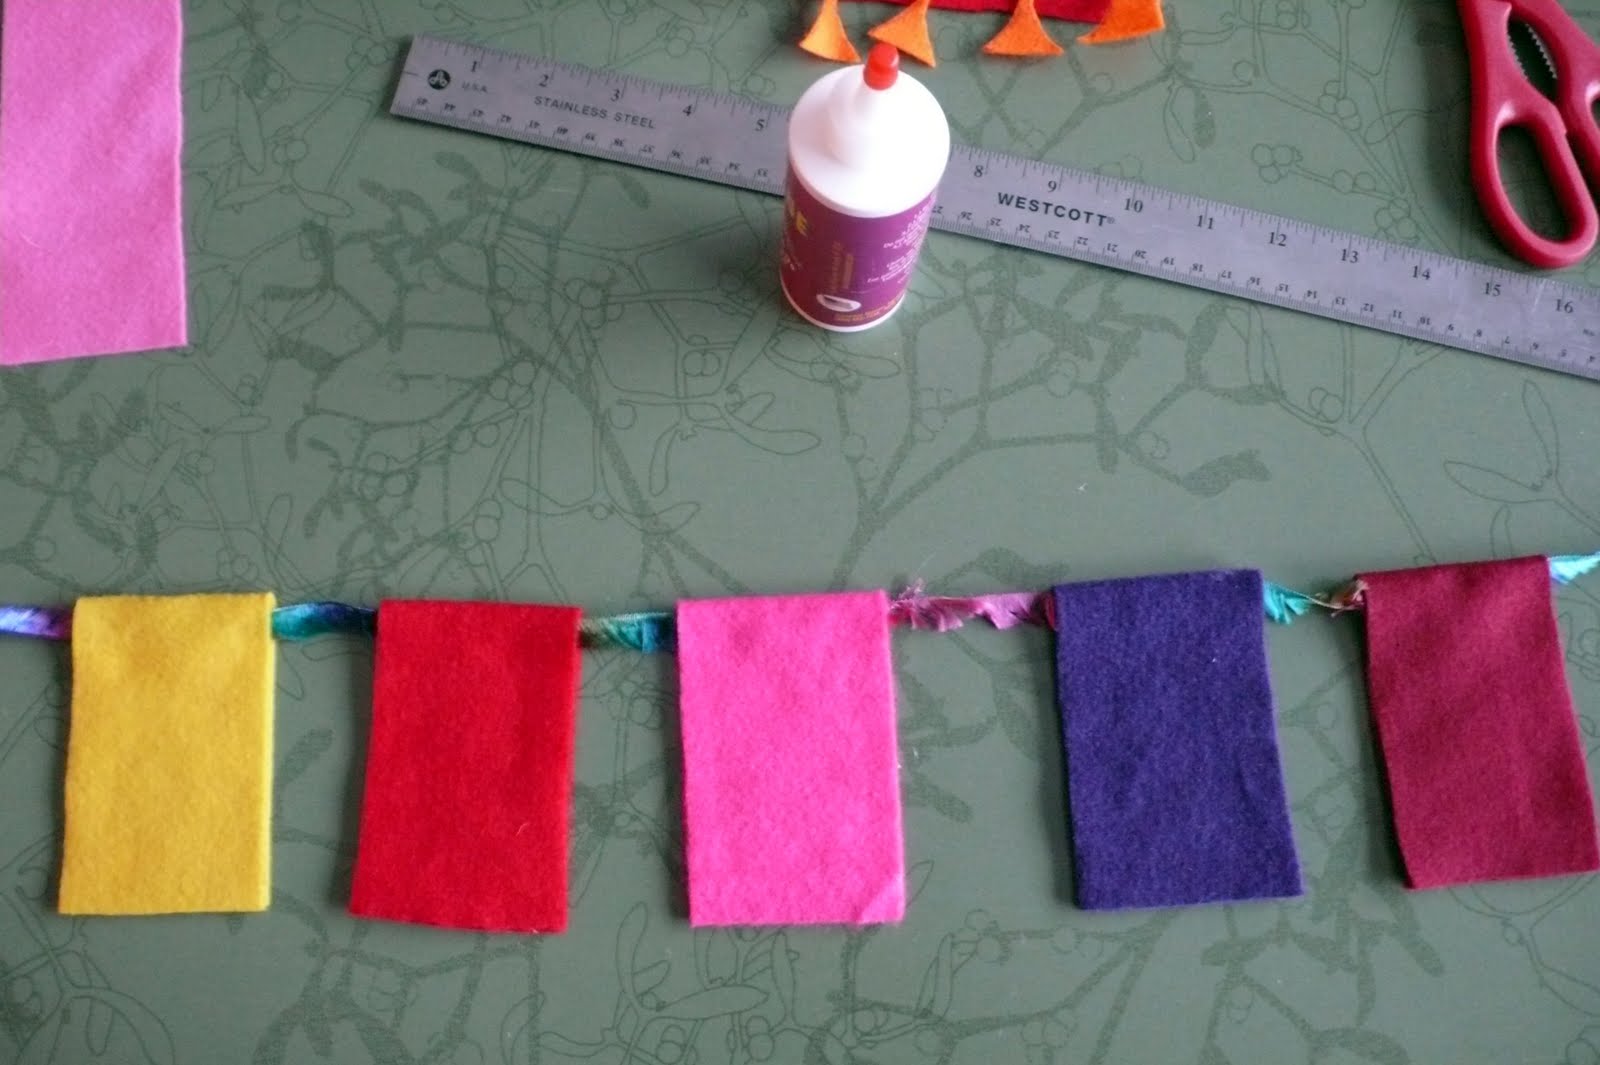
1. Measure out a rectangle of felt that is 3" x 8". Cut it out. Use it as a template with the other colors by tracing around it with the sharpie. You will need 12 rectangles in all. Cut out each one. I wanted to use pinking shears but Quin wanted to use the regular scissor...

2. Cut your yarn into two 48" pieces. Find the center of one. This banner will say "Happy". Center your middle flag, the one that will be the first "P", on the center of the yarn. Apply glue to the inside of the bottom half of the rectangle, then line up the top of the rectangle, over the yarn, with the bottom and push them together, smoothing with your hand so they stick well. Move over an inch on each side of the first rectangle and do the same for the next two and then the next two flags.


3. For the second banner, find the center of the yarn and attach the flag that will have the "Y" for "year". To the right of the "Y", spacing each flag out by an inch, attach each flag for the rest of the word "year". To the left of the "Y" about 2 - 3 inches over, attach the three flags for the word "new".

4. Using the felt glue and working on one flag at a time, write the first letter in the font of your choice on the first flag. Place your sequins onto the glue and press down so they are secure. The glue will dry clear so don't worry if there is a bit extra.
5. When you are finished with all of the flags let your banners dry for several hours to overnight. When you pick the banners up for hanging, check to make sure all the sequins are securely attached and reglue any that fall off.

6. Hang you banner!

There are many variations for this craft. You can use regular sequins, glitter, metallic confetti, or craft jewels for your bling. Or you can cut out the letters from felt or other fabric. To jazz up the flags you can use a pinking shears or a different shape than a rectangle. I am sure I will be trying several banner variations in the coming year. Quin, who is 4 1/2, enjoyed the results and was able to stick with me through the sequin glueing on the "Happy" banner. I did the rest. She is looking forward to making an Easter banner and now that we know we can hang it across the window between our kitchen and dining room we may have to try a double sided version. Plus, I am a bit of a font junkie so I want to try this with different fonts. Also, this is a nice idea for a birthday gift for kids. If you have ever made a banner I would love to hear about it...

2 comments:
This is adorable! Great way to use extra stuff around the house!
BTW.... saw you in my copy Cloth Paper Scissors. I love that piece. I need to try doing some stuff with some of my daughter's pics from Haiti. We certainly have enough of them.
Happy New Year!
Thanks, Isolde! I have not seen the magazine yet... I think that it takes longer to get to Canada. I can't wait to see it! And to see what you do with your Haitian photos... Happy New Year!
Post a Comment