
Monday, December 27, 2010
Happy Holidays to All!
Friday, December 17, 2010
365 Days With Kiddos - #20 - Make Gingerbread Cookies

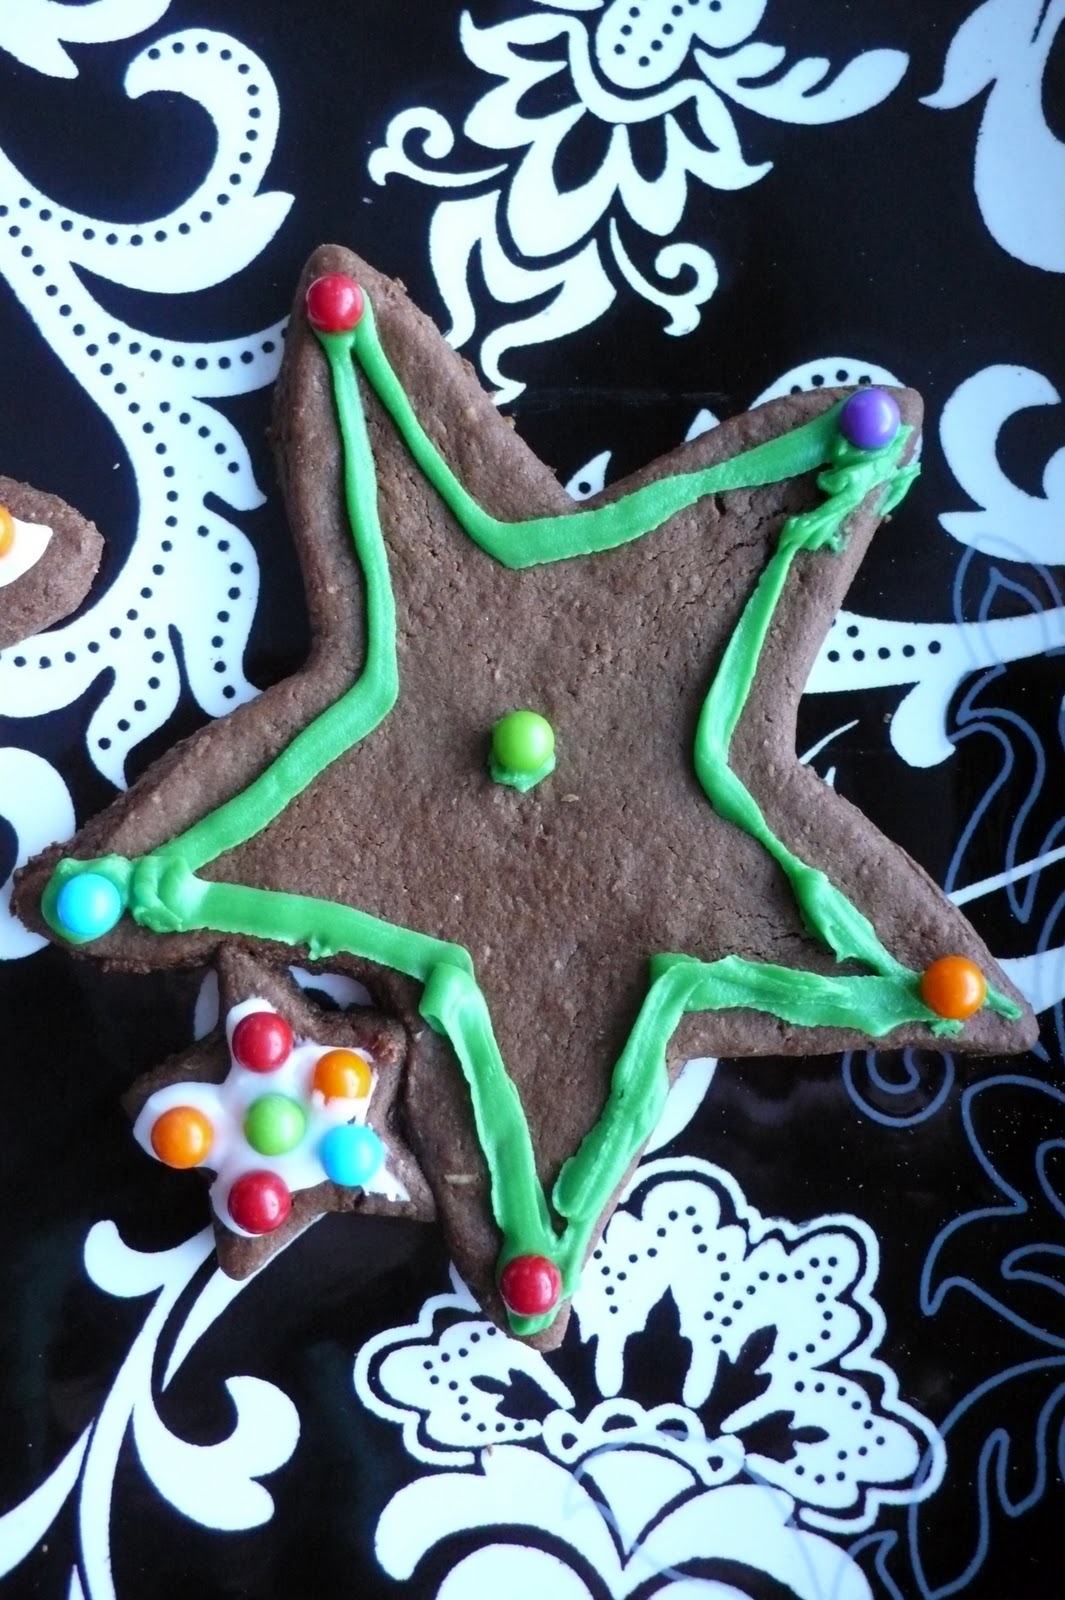
Making gingerbread cookies is a great way for kids to help in the kitchen during the holidays. They can measure the ingredients and mix the dough, as well as roll it out. Their imaginations can run wild by picking and using cookie cutters, as well as decorating the cookies. This year we had everything from connected rows of stars, to fairies, to mommy and baby stars, to simple circles (which were nice blank canvases for elaborate decoration). Premade icing is available but I wrote about a simple vanilla buttercream recipe that can be dyed any color you like, here. If you don't have a piping bag you cab fill a ziploc bag with icing, then cut of the tip of one of the bottom corners. We also used sprinkles and little round hard candies. The sky is the limit and half of the fun is chosing what to use. If you would like to make the connected cookies we did, just make sure your dough cut outs are touching each other on the cookie sheet before you place them in the oven.

I found this recipe on a card in my jumbo sized recipe box that I don't look in often enough. It has good ingredients that I replaced with organic versions. It is a very easy recipe to put together and I love all the spices that are used. The cookies are crisp and delicious. The dough should be chilled before rolling it out or it will be very sticky. I made half of the batch one evening and left the dough in the fridge overnight and baked the rest the next day. You can freeze this dough for 4-6 weeks by double wrapping it plastic wrap. Defrost it by placing it in the fridge for several hours. The baked cookies can be frozen for 3-4 weeks by double wrapping the same as with dough. When you want to eat them just let them sit out until they are room temperature or pop them in the microwave for 20-30 seconds. Be sure to make extras so you can share them. We saved some of ours for a family that is hosting an upcoming open house...

Ingredients
1/2 cup butter
3/4 cup brown sugar (or 1/2 cup honey)
1/2 cup molasses
1 tsp cinnamon
1 tsp ground ginger
1/2 tsp ground allspice
1/2 tsp ground cloves
1/2 tsp ground nutmeg
1 1/2 cups whole wheat pastry flour
1 1/2 cups unbleached white flour
2 tsp baking soda
1/4 cup water (1/8 if using honey)

Directions
1) In a large bowl with a hand or stand mixer, cream together butter with sugar or honey, molasses and spices. In a medium bowl combine flours and baking soda.
2) Add flour mix to butter mix and stir well. Mix in water. The dough should be stiff (I use my hands to combine everything). Chill for several hours. You can put in the freezer for 30 minutes if you are rushed for time.

3) Preheat oven to 350 degrees F. Roll out the dough on a lightly floured board or your counter to a thickness of 1/4" to 1/3".

4) Cut cookies using cookie cutters. Bake on a greased cookie sheet for 10 - 15 minutes.

5) Let cool on the pan for a minute or two, then transfer to wire cooling racks.

6) Decorate!


Thursday, December 16, 2010
New Work - "Good News"
I have been meaning to post some of my newest work. I will do that in a couple of posts since I am badly in need of my bed...
 Good News (Full View)
Mixed Media Collage by Tiffany Teske
8x8"
About Good News
My mother-in-law recently sent me some family photographs, including the one of the women in this piece. They were blueberry picking. I loved the sisterhood I felt from the photo and the nostalgia I felt for the days I used to go blueberry picking while living in Maine. I decided to collage the photograph onto one of my own photographs. The background photograph is an image I originally shot on Polaroid Spectra film, of a field in Alberta where I now live (although I live in the mountains). I scanned the image, saturated the colors, and printed it onto regular photo paper. I then hand sewed the vintage buttons onto the piece, in bunches, to resemble balloons, but also to symbolize memories of the past, being carried on the wind. I like how some of the threads of the different bunches are intertwined, like the lives of these women. And how one woman doesn't have any balloons... The birds are images that I love to use in my work, for their beauty and freedom. The fortune cookie fortune "Good news will come to you from far away" speaks to the future, but also of the distance of the past. The primary color palette is cheerful. The photograph has scalloped edges to go with the vintage theme and it is mounted onto a sewing pattern on canvas. It is 8x8".
 Good News (Detail)
 Good News (Detail)

Mixed Media Collage by Tiffany Teske
8x8"
About Good News
My mother-in-law recently sent me some family photographs, including the one of the women in this piece. They were blueberry picking. I loved the sisterhood I felt from the photo and the nostalgia I felt for the days I used to go blueberry picking while living in Maine. I decided to collage the photograph onto one of my own photographs. The background photograph is an image I originally shot on Polaroid Spectra film, of a field in Alberta where I now live (although I live in the mountains). I scanned the image, saturated the colors, and printed it onto regular photo paper. I then hand sewed the vintage buttons onto the piece, in bunches, to resemble balloons, but also to symbolize memories of the past, being carried on the wind. I like how some of the threads of the different bunches are intertwined, like the lives of these women. And how one woman doesn't have any balloons... The birds are images that I love to use in my work, for their beauty and freedom. The fortune cookie fortune "Good news will come to you from far away" speaks to the future, but also of the distance of the past. The primary color palette is cheerful. The photograph has scalloped edges to go with the vintage theme and it is mounted onto a sewing pattern on canvas. It is 8x8".


Monday, December 6, 2010
Weekly Recipe - Banana Wheat Germ Muffins

MMMMMM! Banana muffins. I like them plain. I like them with peanut butter. I like them with chocolate chips. I was recently playing around with different flours and created a pretty darn good and healthier version than I normally make.
When making banana muffins I always try to use black bananas, the riper the better, for flavor and moisture. In this recipe I used two thawed frozen bananas, that I had put in the freezer when they were super ripe. I also added one yellow banana.
Wheat germ is named as one of the top ten foods by the Mayo Clinic. With 23 nutrients it has more nutrients per ounce than any other grain or vegetable. It is easy to put on cereal, in pancakes, on yogurt, in smoothies, or in muffins. My kids love to sprinkle it on all kinds of things.
Banana Wheat Germ Muffins
By Tiffany Teske
12 standard muffins
Ingredients
~ 1/2 cup rye flour
~ 1/2 cup barley flour
~ 1/2 cup whole wheat pastry flour
~ 1 cup wheat germ
~ 1/2 cup brown sugar
~ 1 tsp baking powder
~ 1 tsp baking soda
~ 1/2 tsp salt
~ 1 cup mashed banana (2-3 bananas)
~ 1/2 milk (you can use soy, almond, rice, cow)
~ 2 tsp lemon juice
~ 1/4 cup vegetable or canola oil
~ 2 Free Range eggs
Directions
1. Preheat oven to 375 degrees and grease muffin pan(s).
2. Combine dry ingredients and mix well.
3. In another bowl combine the wet ingredients and mix well.
4. Add the banana mix to the dry mix and stir until just blended. Do not over mix, which makes muffins dense and heavy.
5. Spoon into pan. Bake 20-25 minutes.
Sunday, December 5, 2010
Weekly Recipe - Pumpkin Nutella Snack Cake Plus How To Make Fresh Pumpkin Puree - A Week of Recipes Coming Up

I haven't posted a recipe is soooooo long, that I decided this week I will only post recipes, so if you like to cook and eat, stay tuned...
My newest creation was inspired by the name of someone else's recipe. It piqued my interested but when I read it there was WAY too much sugar and only white flour in it. I tweeked it and ended up with a moist, amazing, and healthier cake. It is delicious without any frosting.
One of the reasons I stumbled on the other recipe was that I had some leftover pumpkin I wanted to try to puree, so I am also including instructions on how to puree fresh pumpkin, although this cake is also good, and quicker and easier, if you use canned pumpkin.

How to Make Fresh Pumpkin Puree
by Tiffany Teske
The average pie pumpkin (which is kind a funny thing to say since they are all different) makes about 3 cups of puree. I used half a pumpkin and indeed I had 1.5 cups.
1. Wash and dry your pumpkin. Preheat your oven to 400 degrees.
2. Cut the top off your pumpkin and discard it. Now cut your pumpkin in half, remove the seeds (which you can roast) by scrapping with a metal spoon, then cut each half in half again.
3. Place your pumpkin quarters on a cookie sheet, cut side down. You can cover them with foil (I did this in my toaster oven and didn't cover them, which worked fine). Bake for 35 - 45 minutes, until the meat can easily be scraped from the shell.
4. Let the pumpkin cool. Scrap the meat from the shell.
5. Put the meat into your food processor and puree. If it is thick you can slowly add a teaspoon or so of water at a time. Mine was very wet without any additional water. Mine looks a bit like applesauce but the color will vary.

I wish I had a picture of this cake but I made it at night, wanted to photograph it in daylight, then we ate a bunch and took the rest to friends, and I never got a photo... I think that is a first!
Pumpkin Nutella Snack Cake
By Tiffany Teske
1 c unbleached all-purpose flour
1 c whole wheat pastry flour (this is finer than whole wheat flour so not as heavy)
1 tsp baking soda
1/2 tsp sea salt
1 tsp of cinnamon
1/4 tsp nutmeg
1/2 tsp ginger
1/2 lb (or 2 sticks or 8 oz or 1 c) butter, at room temperature
1/2 c granulated sugar
1/2 c packed brown sugar
1 large egg
1 t real vanilla extract
1 1/2 c canned or fresh pumpkin puree
1/2 c Nutella
1. Preheat oven to 350 degrees. Spray a 9-by-13-inch baking pan with cooking spray.
2. In a medium bowl, whisk together flour, baking soda, salt and spices.
3. In the bowl of a stand mixer, cream butter and sugars until smooth. Beat in the egg and vanilla until well blended. Add the pumpkin puree and Nutella. Reduce speed to low, and mix in the flour mixture until just combined.
4. Spread batter evenly into the prepared pan.
5. Bake for about 35-40 minutes or until the sides pull away from the pan and a toothpick comes out clean. Place cake on a wire rack and cool completely.
Bon appetit!
Subscribe to:
Posts (Atom)