Showing posts with label recipe. Show all posts

Saturday, October 8, 2011

Weekly Recipe - Babz's "Tweeked" Pumpkin Bread Re-Tweeked By Me

Babz & Emmanuelle having tea

Last Friday, Emmanuelle & I went to the home of my friend, Babz, for tea. Babz has mad skills with a hula hoop. Check her out (she is the one in white)! I always have a lot of fun hanging out with Babyz. We are both part of the Nine Arts group booth at the Canmore Mountain Market. We hadn't been there for more than a few minutes before she had made us tea, cut us some homemade pumpkin bread and lead us out onto her deck into the still gorgeous fall weather. What a lovely way to spend an afternoon. The bread was sooooooooo good, I had to have the recipe, and true to her more than generous nature, Babz handed it over. And when I say handed it over, I don't mean she orally told it to me while I wrote it down, this girl (like me) has actual RECIPE CARDS! And not just any recipe cards, but illustrated recipe cards from a delightful artist on Etsy, named Susie Ghahremani, also know as boygirlparty. You can see Babz's recipe below. I like most that she named it Babz's Tweeked Pumpkin Bread. I believe this was the third version from the original.
Seriously, is there anything cuter than a bunny with a frying pan...

...well maybe squirrels with chef hats, another with an apron, & another with an egg beater!

 Babz & Tiffany's Tweeked Pumpkin Bread

Just to be me, I went and tweeked the recipe even more. My recipe is as follows:

Babz & Tiffany's Tweeked Pumpkin Bread 
Makes 2 Loaves
~ 1 large can of pumpkin
~ 4 eggs
~ 1/2 cup of oil
~ 2 cups of natural raw sugar (Babz uses 3!!)
~ 1 1/2 cups of unbleached white flour
~ 2 1/2 cups of whole wheat flour
~ 2 1/4 tsp baking soda
~ 2 tsp cinnamon
~ 1 tsp nutmeg
~ 1 tsp ground cloves
~ 1 tsp ginger

1. Grease pans. Preheat oven to 400 degrees F.
2. Mix wet ingredients well in one bowl.
3. Mix dry ingredients well in another bowl.
4. Combine wet and dry ingredients, mix until just combined. If you over mix you will have tough bread.
5. Bake for 50 minutes to 1 hour 10 minutes. I live in the mountains where nothing ever seems to bake in the time a recipe says. Check the bread by inserting a toothpick or piece of spaghetti into the middle of the loaf. If it comes out clean, It is done.

This is a quick and easy recipe that results in two wonderful loves of bread, which is enough for us to both eat and share. We took one of our loaves, along with a dish of butter, to share with other at a community potluck dinner. It was gobbled up pretty quickly, We also shared some bread with our friends, Dea & Millie, at our home, along with tea. And while we were eating it, a beautiful double rainbow stretched across the sky. What a wonderful couple of days we had, while giving and receiving this awesome bread.

Ahhhh, friends + pumpkin bread = rainbows (I am such a geek...)

Do you have a bread recipe you love and would be willing to share? If you make this recipe, and tweek it, please let me know how it was...

Wednesday, January 5, 2011

Weekly Recipe - My Swedish Pancakes (Using Whole Wheat Pastry & Barley Flours)


Have you ever bought something at a yard sale or thrift shop that you could not identify? I have a thing for cast iron pans. I love them, I use them, I give them to others and hope that they will love them. At this point, I have as many cast iron pans as one household could need, a 12", a 10", a square one with ridges for grilling, and a 9" crepe pan that is thin and super light for swirling around batter in the pan. I really didn't need anymore... then one day, I came across a cast iron pan with seven recessed circles in it. And when I flipped it over, a ribbed flower pattern on the bottom (I should take a picture of the bottom...). I had no idea what it was for. I thought maybe for eggs, but thinking of my egg poaching pan I knew the wells were too shallow. I am a bit of a kitchen gadget and equipment nerd but have been stumped before. Anyway, whatever it was for, I knew it was a specialty pan like my madeleine pan and my Nordic Ware mini bundt pan. I knew I would one day figure out what it was for and kick myself for not buying it. Especially since it was $3! Plus I thought to myself, it is so flat that I can store it under the lazy Susan in the corner cabinet where I store my pots and pans...

... which is exactly where it stayed until my birthday this past November. That is the morning that I woke up thinking I wanted to make a pannekoeken, a traditional Dutch pancake that is cooked in a skillet in the oven. I have eaten them, have a great Dutch cookbook series, but have never made them. And yes, my idea of fun, on my own birthday, is to cook something I have never made first thing in the morning. I am not a morning person, but I am skilled at breakfast making, and the thought of a hot pannekoeken was all the inspiration I needed. My daughters agreed and I jumped online to find a recipe for Swedish pancakes, BECAUSE the whole time I had been thinking about making a pannekoeken, I had been calling it a Swedish pancake. I had my countries and breakfast foods mixed up, hence the reason I didn't go and look the recipe up in my Dutch cookbooks! And am I ever glad I got mixed up. In fact, I believe that my Great Grandma Gerda, from Sweden, was looking down on me that day, because as I looked at the first image that popped up from my search for "Swedish pancake" I SAW MY CAST IRON PAN!! And, I started dancing around the kitchen with my wee ones, laughing, and brandishing the pan that I NOW knew was a Swedish pancake pan! HAHAHAHA. The reason that I had never know about this pan, since my grandmother, Harriett, daughter of Gerda, did make pancakes for me, is because she just made them in a regular pan. Which you can totally do. So, no worries if you don't have a "special" pan like me, you will be a-ok, and very happy that you followed the recipe for Swedish pancakes below. I have tweaked this recipe to fit our tastes and these pancakes are different than crepes, pancakes, and pannekoeken. They are richer, thinner, but moister than a traditional pancake. Give them a whirl. They made my birthday extra special and when I spoke with my grandmother Harriett on the phone, while I was making them, they made her happy as well. She has been losing her short term memory but when I told her I was making Swedish pancakes I could hear her voice change and it was like she was back on the farm as a kid. She was excited and it touched my heart because since my grandfather died she is never very excited. As I hung up the phone I felt happy to have made her day and happy to know we can now make pancakes that will always remind me of her.


Swedish Pancakes
By Tiffany Teske
Serves 3 to 4


Ingredients
I use organic ingredients whenever possible.

~ 3 eggs
~ 2 T sugar
~ 1 cup milk
~ 1 cup half and half OR buttermilk (you can use all milk but they will not taste as rich)
~ 3 T melted butter
~ 1/2 tsp sea salt
~ 3/4 cup whole wheat pastry flour
~ 1/4 cup barley flour

Directions

1. Using a wire whisk beat the eggs, sugar, milk, half & half or buttermilk, and the melted butter for one minute.
2. Slowly add the flour while continuing to mix. When the flour is completely added blend for an additional 30 seconds.


3. Heat griddle or pan. When griddle or pan is hot, grease with butter or cooking spray. Pour pancake batter in a large circle for crepe size pancakes or small silver dollar size pancakes. They will cook quickly.

Flip when the underside is golden brown and the upper side has an opaque look. They are done when both sides are a golden brown.


4. Serve hot with maple or fruit syrup, powdered sugar, applesauce or, with Lignonberries.

Tuesday, October 26, 2010

Weekly Recipe - My Illustrated Apple Pecan Cobbler Recipe (and How To Make Unsweetened Applesauce)


Last week, my husband was gifted with TONS of apples. I am not complete clear on the story but one of his clients left three boxes of BC (British Columbia) apples for him and his employees. My hubby manages a ski resort, so I am not really sure of the connection, but, boy were we excited when he brought them home! There are standard Red Delicious, MacIntosh, and I think, Jonagold. The latter are absolutely delicious for eating and are almost gone. The Red Delicious, which was the top variety of apple in the world for decades, but not a favorite of mine, are good for both eating and cooking. MacIntosh, which have been popular since the early 1800s, are great for my toddler when skinned because they are soft, but since I like crisp apples, I prefer to make them into applesauce. Applesauce just might be the easiest thing on the planet to make...

How to Make Applesauce

By Tiffany Teske
The following works for any amount of apples. I often made small batches with one or two apples for my babies but you can also do this with a dozen apples. Just select your saucepan according to the amount of chopped apples you will have.

Ingredients
~ Apples
~ Water

Directions
1. Peel the apples.
2. Chop the apples.
3. Put the apples into a saucepan. Add water until it just covers the apples, and bring to a boil. Reduce heat and simmer until soft (up to 20 minutes).
4. Puree in the blender or with a handmixer or smoothie mixer or food mill. You can also mix or whisk it by hand.
I don't sweeten my applesauce, since I find it unnecessary with Macs.

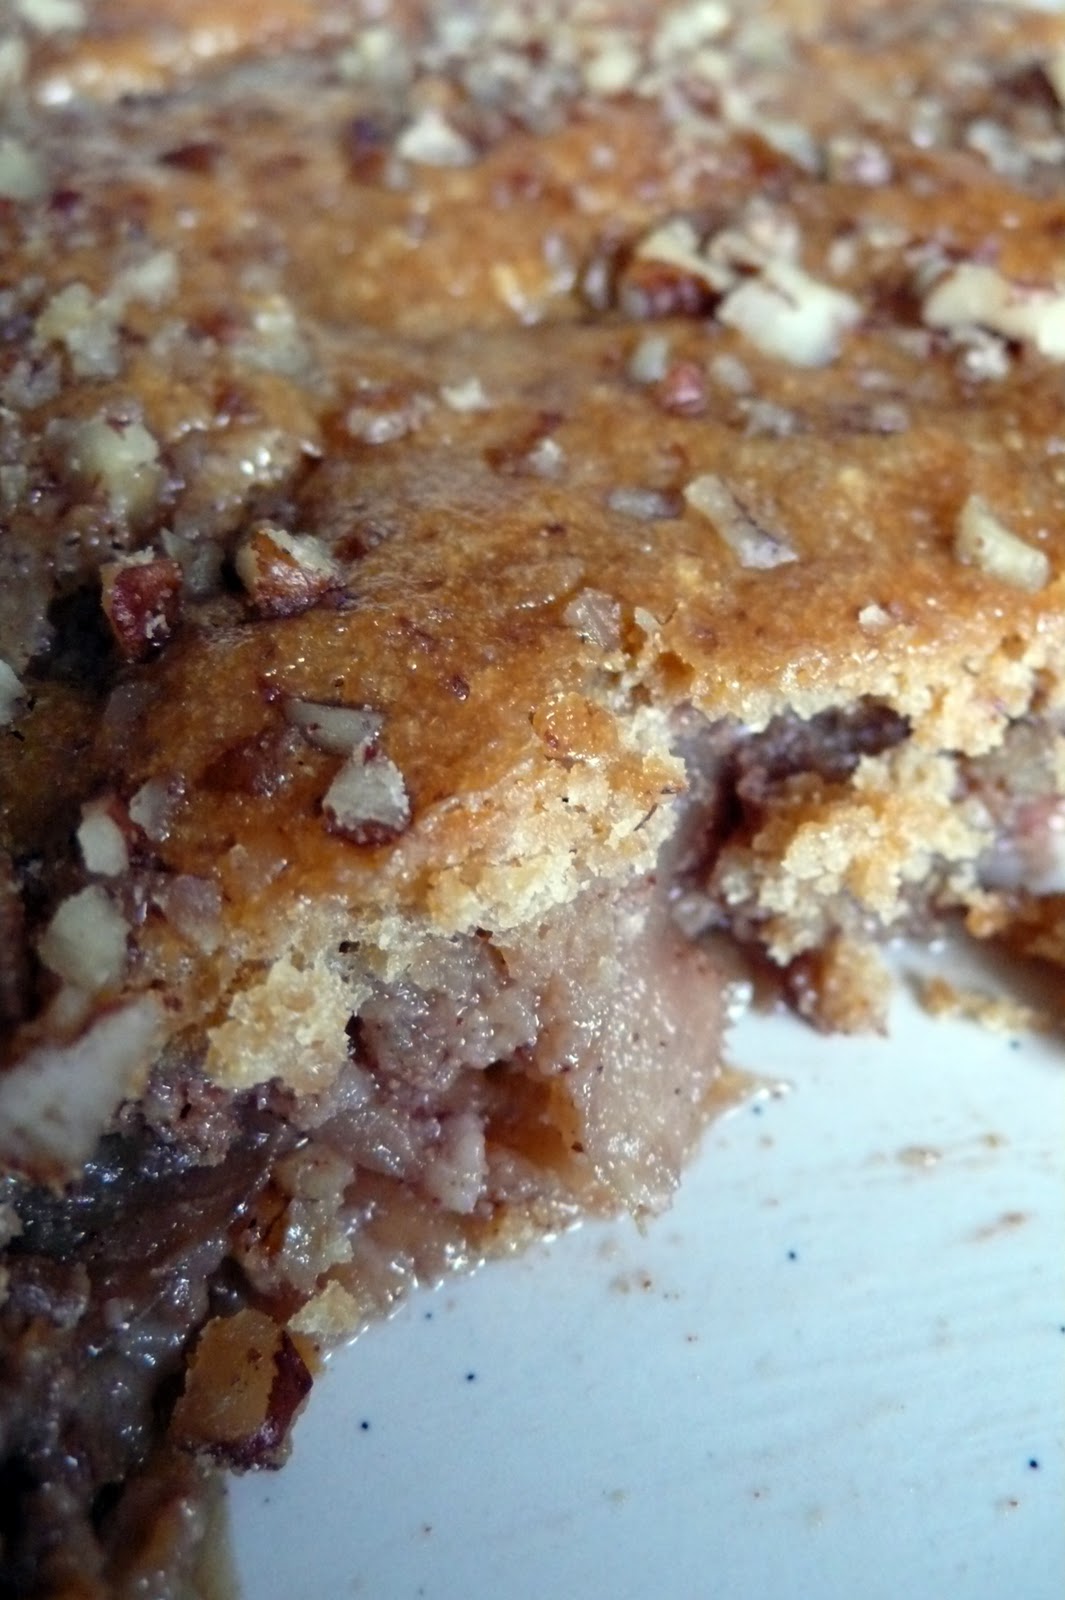
I also decided to use some of our Macs in a dessert. I must confess, I love to have an overabundance of fruit or veggies that I need to figure out a way to use. I get inspired to try something new. In this case, I started with the idea of an apple pecan cobbler, peeked at a couple of recipes, then made this up with what I had on hand.


Apple Pecan Cobbler
By Tiffany Teske


Ingredients
~ 4 cups thinly sliced apples (I used 5 apples)
~ 1/2 c organic raw sugar
~ 1/2 tsp ground cinnamon
~ 1/2 c chopped pecans
~ 1 c whole wheat pastry flour
~ 3/4 c brown sugar
~ 1 tsp baking powder
~ 1/4 tsp sea salt
~ 1 free range egg, beaten
~ 1/2 c evaporated milk
~ 1/3 c organic butter, melted
~ an additional 1/4 c chopped pecans


Directions

1) Preheat oven to 325° F. Generously grease a rectangular baking dish with butter.
2) Arrange apple slices in an even layer (not a single layer, they can cover one another but it should be about even in depth throughout) in baking dish. In a small bowl, mix raw sugar, cinnamon, and 1/2 c pecans. Sprinkle over apples.


3) In a medium bowl, mix flour, brown sugar, baking powder, and salt. In a separate bowl whisk egg, evaporated milk, and melted butter. Add milk mixture all at once to the dry ingredients and stir until smooth. Pour this over apples and sprinkle with the remaining 1/4 pecans.


(It had gotten dark outside by the time I got to this step so this doesn't look quite right in the artifical light...)

4) Bake for 55 - 60 minutes.


This is delicious with a little bit of evaporated milk or cream poured over it. Or you could make this sweet cream ice cream.


To make this recipe even better, why not support a local apple orchard or farm and buy your apples there. Take the kiddos and pick them yourself. For more on apple varieties check out pickyourown.org.

Wednesday, October 13, 2010

365 Days With Kiddos - #12 - Make Your Child A Special School Day Breakfast


We love breakfast around here. We have many leisurely ones but there are also days when we need to get out the door for preschool and we don't have as much time. My daughter would eat toast every day (Have you ever read Bread and Jam for Frances? which is, of course, a snap to make. I like to find ways I can make a quicky breakfast that is extra special. Recently I was thinking about this and remembered Egg in a Hole. I have to admit I never had this as a kid but a boyfriend of mine made this for me. It became part of my repetoire then but I had all but forgotten about it by the time I had kids. I started to make it again recently. And then just yesterday I was reading a vintage copy of The Better Homes and Gardens Junior Cookbook and they have a version that uses a bun, an egg, the oven, and a slice of cheese. My version is made on the stove, is as fast as frying an egg, and I may start to mix it up by melting cheese on top...

Egg in the Hole

By Tiffany Teske

Ingredients

- a slice of bread
- an egg
- butter
- cheese, salt & pepper, optional

Directions

1) Tear the middle of the bread out of the center of the slice so that you have a hole. This can be toasted in the pan along side the slice of bread, as a wee piece of toast to have on the side of your toast ;).
2) Spread a bit of butter on each side of the slice. Also, melt a thin layer of butter in the pan so the egg won't stick, if you are using cast iron, like me. If you are using teflon or some other non stick you can omit the extra butter.
3) Place the bread with the hole in the pan, which should be on med to lo medium. Crack your egg and then drop it in the middle of the bread. Cook until it is solid on the bottom, then flip to cook the other side. Season with salt and pepper. If you are using cheese, place it on top, and cover the pan so it melts.
4) If you want the egg to look picture perfect you can cook it without flipping but I would toast one side of the bread first, and cover the pan while cooking. You may have to fiddle with the right temperature so you don't burn the bottom of the bread before the egg is cooked through. You can also cook all of this in the oven at 350 F if you have the time and prefer to do so.

If your child is vegan or allergic to dairy you can still make special toast by using cookie cutters to cut it into shapes, then spread with assorted nut butters. If your child is allergic to nuts you can use jams. If your child is gluten free, you can use gluten free bread. I guess the point is not so much what you make for your child as long as you find something fun and special that doesn't take a lot of time. This way you won't be stressed but your child will feel they are extra special when they are sent off to enjoy the day...

Saturday, October 2, 2010

Weekly Recipe - My Sweet Potato & Black Bean Chili


This recipe came about like many do; I saw it in a cookbook but then because I didn't like certain ingredients or methods, I totally revamped it to make it my own. There was a time I would not have had the confidence to do this. Thanks to time and practice, I am getting better at "winging" it. When my aunt cooks she is amazing. The last time she was at my house she made the most delicious pistachio crusted fish with a moroccan flair and I can't replicate it because it was truly a little of this and a little of that. Being in her kitchen and having her in mine makes for the best memories. And when I marvel at the fact that I may never be able to cook "like that", she smiles and tells me to give it another 40 years or so...

The thing I disliked the most like in the recipe that originally inspired me, was something about making a slurry with cornstarch. Yuck. I have made several chilis without needing a thickener so I decided to omit it. If you are used to thickening chili, trust me, you don't need to in this recipe.


PS If you own a Slap Chop (or a Zyliss version like we have) I would get it out. There is a great deal of chopping in this recipe. I love to chop by hand and I am too lazy to clean the chopper, but trust me, it will be worth cleaning it up.

Sweet Potato and Black Bean Chili
By Tiffany Teske

Ingredients

I use organic wherever possible. This makes 8-10 bowls. It keeps well in the fridge for several days and would freeze well.

- 1 T grapeseed oil (you can substitute vegetable oil)
- 1.5 medium or 1 large yellow onion(s), chopped
- 3 cloves garlic, chopped or minced
- 1.5 t cumin
- 1 T Mexican chili powder
- 14 oz can crushed tomatoes
- 2 c vegetable broth
- 2 19 oz cans black beans, drained but not rinsed
- 1 14 oz can fire roasted diced tomatoes
- 28 oz can plain diced tomatoes
- 1 t Vege Sal Seasoned Salt (or other seasoned salt)
- 1/2 t ground black peper
- 1/2 t dried oregano
- 1 large carrot, peeled and diced
- 1 large sweet potato, peeled and diced
- 1 c frozen corn
- 2 bay leaves
- Optional - feta & cilantro for garnish

Directions


Heat the oil in a large pot on medium high heat. Add the diced onion and saute for 5 minutes, until tender. Add the garlic and saute another minute. Add the cumin and chili powder and saute 2 minutes.

On medium-low heat, stir in the crushed tomatoes and broth. Add the remaining ingredients except the toppings. Bring chili to a boil for 2 minutes and then reduce heat to low. Simmer over low heat uncovered for one hour, then simmer covered with a lid for 30 more minutes.

Serve with your choice of toppings.

Monday, September 13, 2010

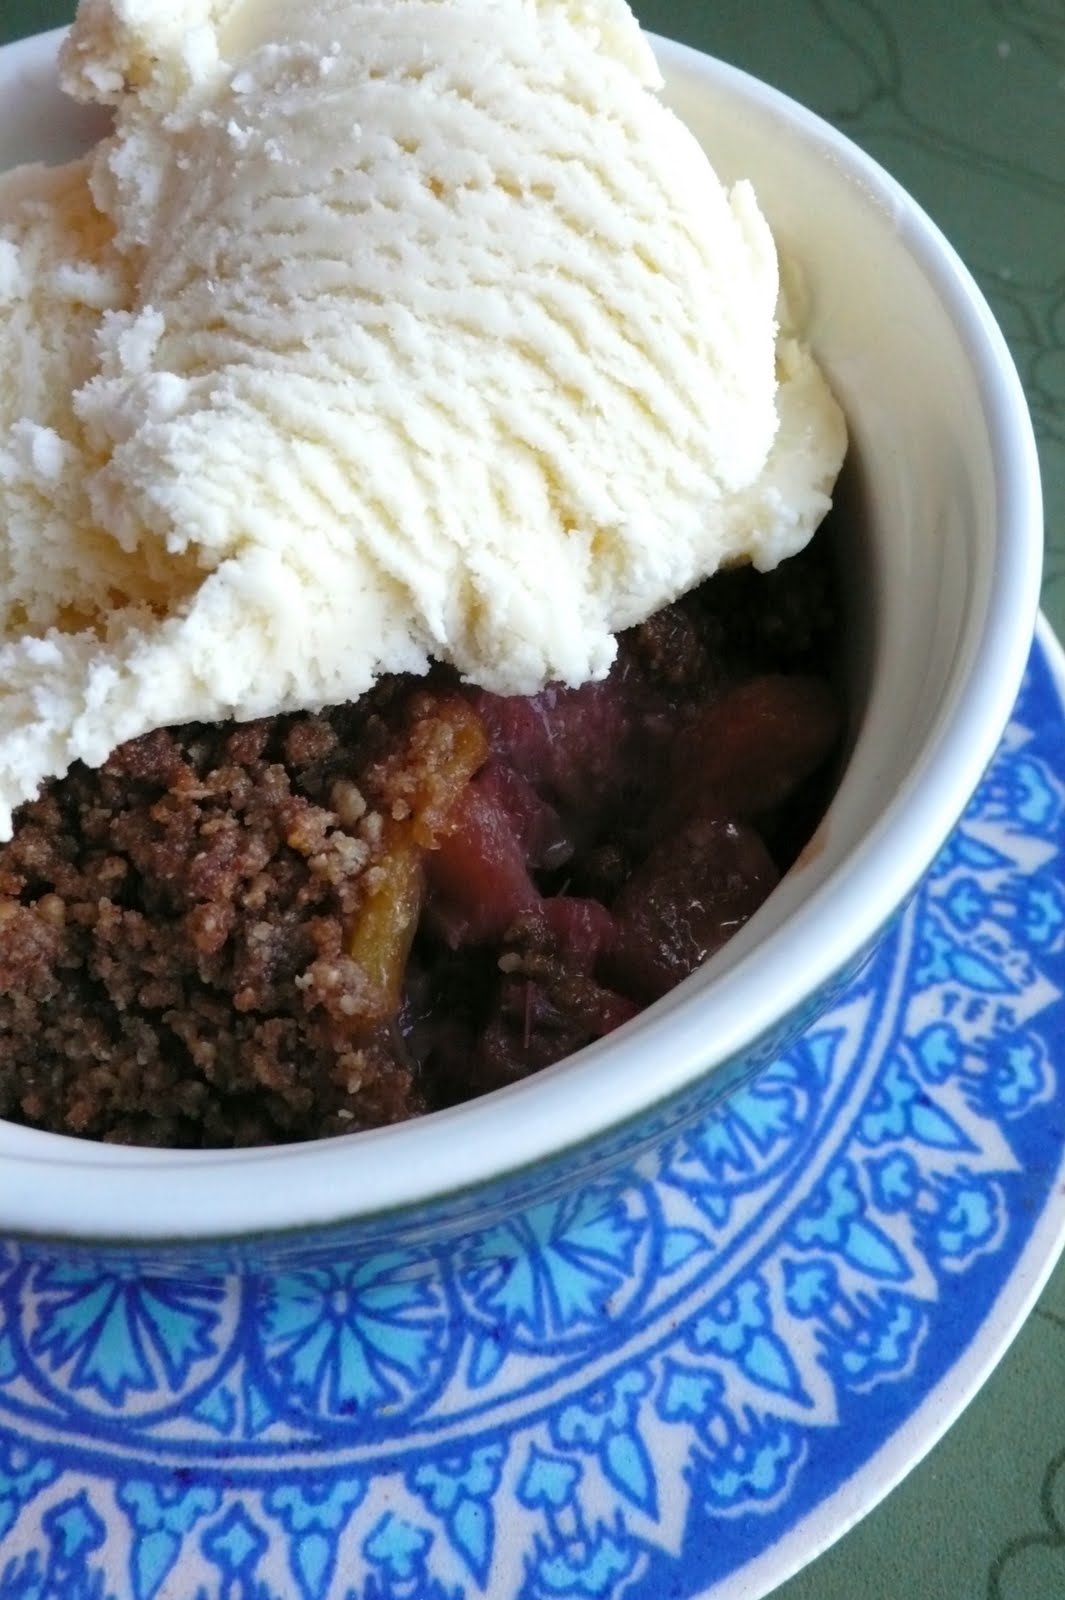
Weekly Recipe - Pineapple Rhubarb Crisp


I realize that it is getting a bit late in the season for this (even here in Banff where the growing season is late and short). Rhubarb can be found in the freezer section year round in some places. This recipe makes it worth checking out. I am a huge fan of any kind of crisp, especially when I can make homemade sweet cream ice cream to put on top. I had never thought of the combination of rhubarb and fresh pineapple... it is awesome! The sweet and tart go so well together. The heading of the recipe, from a free thrifted copy of Homemakes Magazine states "Consider this dessert a study in North-South dialogue: a blending of rich tropical sweetness with cool climate tartness". On a side note, old magazines abound, usually for free, so if you are ever in need of a new recipe, aside from the internet, or your cookbook collection, just pick up some free magazines, flip through, and pick out a something new to try...

Pineapple Rhubard Crisp
Homemakers Magazine

Ingredients
Makes 6-8 serving

4 cups/1 L chopped rhubarb
3 cups/750 ml chopped fresh pineapple
3 Tbsp/45ml granulated sugar (I use organic raw)
1 Tbsp/15 ml cornstarch
1 cup/250 ml all-purpose flour (I used organic whole wheat pastry flour)
2/3 cup/150 ml packed brown sugar
1 tsp/5 ml finely grated orange rind
1 tsp/5 ml ground ginger
1/4 tsp/1 ml EACH cinnamon and nutmeg
pinch cayenne pepper
1/3 cup/75 ml salted butter, melted

Directions
Toss together rhubard, pineappple, granulated sugar, and cornstarch; place in buttered 8 inch/20 cm square baking dish. Whisk together flour, brown sugar, orange rind, ginger, cinnamon, nutmeg, and cayenne until throughly combined. Drizzle with butter; stir until in small crumbs. Spread over fruit mixture. Bake in centre of 350 degree F/ 180 degree C oven until fruit is bubbling and topping is crisp, 50 -60 minutes.

Sweet Cream Base
By Ben & Jerry's

Ingredients
Makes 1 Liter

2 eggs
3/4 cup sugar
2 cups whipping cream
1 cup milk

Directions
Beat eggs, using a wire whisk, until frothy, 1-2 minutes. Add sugar a little at a time, beating about 1 minute. Add cream and milk and whisk to combine. Freeze according to your ice cream maker's directions.

Thursday, June 24, 2010

A Lovely Little Summer Lunch - Kale & Red Cabbage Salad with Tamari Pumpkin & Sunflower Seeds

 
Posted by Picasa

It is always nice to spend a leisurely afternoon with friends. A couple of weeks ago, my kiddos and I were invited to friend's home for food, laughter, and some good old backyard fun. Jane, opened her lovely home to us all, and served us a wonderful salad for lunch (the kiddos had Annie's bunny pasta, well, maybe the mommies had some, too...). I have since made it at home with raw sunflower and pumpkin seeds, which is how Jane served it. Below you will find the recipe, along with a little photo collage of Jane's art studio with work in progress and a peak at some of the things that inspire her. Just click on it or the one above to see the images larger... Enjoy!


(Aren't the colors beautiful?!)

Kale & Red Cabbage Salad with Tamari Pumpkin & Sunflower Seeds

Ingredients
- 1 bunch kale, chopped
- 3 cups carrots, grated
- 1/2 head red cabbage, thinly sliced
- 1/2 cup tamari pumpkin seeds (see how to make below)
- 1/2 cup tamari sunflower seeds
- 1/2 cup flax or hemp oil or olive oil
- 1/3 cup Bragg Liquid Aminos
- 5 Tbsp balsamic vinegar
- 1 tsp oregano, dried

Directions
Wash kale and chop. Be careful to rinse the leaves to remove dirt and grit.

In a cast iron skillet, over medium heat, stir sunflower and pumpkin seeds. Remove from heat when they're toasted golden brown. While the skillet is hot, add in a few drops of tamari, which will sear onto the seeds. Remove and let cool.

In a large bowl, combine chopped kale, shredded carrots, sliced cabbage and tamari seeds. Set aside.

In a small bowl, whisk together oil, Bragg Liquid Aminos (or Maggi or Soy Sauce or Tamari - but Braggs is definitely tastiest), vinegar and oregano. Refrigerate for 30 minutes or more to let the flavours blend together. Pour over the kale mixture. Toss until evenly coated and chill for at least 2 hours before serving.

This salad keeps well refrigerated for 2 - 3 days.

Number of Servings: 8

 
Posted by Picasa

All Images by Tiffany Teske

Tuesday, June 22, 2010

African Fruit Salad - A Lesson in Geography, Food, & Fun


My four year old has been cooking since she could stand on a step stool next to me. We try to make several things a week, both for the fun of it, and to have healthy, good things around to snack on. Thanks to a well stocked pantry, some of our cooking sessions are impromptu, while others are planned. A few weeks ago, Quin picked a book at the library called Desserts from Around the World. It is a book for older kids but is quite suitable for small children and their parents. The first chapter has the most words and shares different parts of the world and the desserts that are common in each. Quin and I both enjoy curling up with a cookbook and dreaming of what we will make so we looked at a few recipes and their photos before bed each night.

Because we had a large box of mangoes that needed to be used, we decided to make the African Fruit Salad. We also had the bananas and pineapple on hand, but we made a special trip to the store to find a papaya. We actually had to go to two stores as part of this adventure and in the end I bought a not-quite-ripe papaya because it was all they had. For tips on selecting mangoes, pineapple, papaya, and other tropical fruits check out this great link. Quin loves to try new foods, and has not had fresh papaya since I was making her baby food. I recommend a fruit salad as a good way of introducing new fruits to kids.


Africa, on a vintage globe

This is also a good recipe to pair with a geography lesson. We have a vintage globe, which is not the best for showing Quin specific countries, but which she loves to play with so it engages her. It is fine for talking using to show her the continents. We were also able to talk a bit about how in parts of Africa, as in most parts of the world, including Canada, that there are people who are hungry and who need our help. I don't get very political with my small children but I do think it is important to talk about all we have, so we can be grateful for it, and so we can decide how we can help others who are in need.


African Fruit Salad

From the book, Desserts from Around the World


Ingredients
~ Two bananas, sliced
~ One mango, chopped
~ One papaya, seeded and chopped
~ One pineapple, chopped

Directions
Slice and chop all of the fruit into bite sized pieces, combine in a bowl, and serve. If you want to make this ahead of time, do not add the banana. The other fruit will keep 1-2 days when refrigerated. Just add the banana when you are ready to eat it.


"YUM, Pineapple!"

Tuesday, June 15, 2010

Quick and Yummy Ahi Tuna Marinade


I am taking a little break from birthday party posts, although I do have some fun things to share from some recent birthday parties we have gone to. Soon...

Time for a recipe. A fish recipe. My husband recently brought home some ahi tuna, also known as yellowfin tuna. We eat fish about three times a month in our house. I have not eaten red meat or pork since I was 13, or poultry since I was 19. I have had two healthy pregnancies, without eating any of these and I look to nuts, legumes, eggs, cheese, yogurt, whole grains, and occasionally soy or fish for protein. Fish can be very nutritious and are packed with great nutrients such as omega-3’s, B vitamins, and lean protein. However, many fish are contaminated with toxins, such as mercury which can adversely affect brain development and the nervous system. There is a lot of conflicting information out there about what fish is safe to eat and in what quantities. All tuna generally has mercury in it, much of it in high levels. I have been told by a health care professional that a pregnant or nursing mom should not eat more than 3 6 ounces servings of ahi a month. All this to say, it is good to be knowledgeable about the fish you chose to eat. You can talk with your naturopath or MD about it. A reliable internet source for safe fish can be found on the Environmental Working Group's Website.

So, on to the marinade I made for the ahi my hubby brought home.

Asian Marinade for Ahi Tuna

By Tiffany Teske

This is enough for one 6 - 8 oz steak.

Ingredients
~ 1 Tbsp sesame oil
~ 1 Tbsp soy sauce (substitute 1 teaspoons of wheat-free tamari for gluten-free diets)
~ 1/2 Tbsp of grated fresh ginger
~ 1 small clove garlic, minced
~ 1/2 teaspoon lime juice

Directions
Mix all ingredients together. Coat the fish with the marinade, cover, and put in the fridge for an hour or more. Cook the fish by whatever method you prefer.

Monday, June 14, 2010

A Week of Birthday Posts - #5 - Birthday Party Food


Food, glorious food. Hehehe! We love it around here. And party food is oh so fun to research, decide upon, and prepare. I have found that for kids' birthday parties it is best to keep it simple. My children are adventurous eaters but that doesn't mean all of their friend are. In fact, my daughter, and all the moms, were the only ones who really liked my homemade strawberry rhubarb lemonade. It never even crossed my mind that most of the kids would find it way too tart...


I made a better decision on the healthy snack part of the party. After the kids made a craft, I served fruit and dip. I never realized that strawberries and mini marshmallows would be such a sell! The berries were organic and so deliciously sweet that they didn't need any special preparation. I just washed and hulled them, slid them onto a frilly toothpick, and kept them from sliding off with a single mini marshmallow. Every single one was eaten. The dip on the other hand, again something my daughter likes, was not a huge hit with some of the kids. I had made it during a cooking class I taught for older kids (ages 6 - 9) where it was well received. See what you think...


Honey Fruit Dip
Ingredients
~ 1 cup plain yogurt
~ 1 Tablespoon honey
~ Brown sugar to sprinkle on top
~ Fruit

Directions
1. Mix honey into yogurt.
2. Sprinkle brown sugar on top.
3. Dip strawberries, grapes, banana slices, whatever fruit you like, into the dip and enjoy!


And what would a party be without cake? Since we had other food and snacks I decided to go with mini cupcakes. This way the kids could eat one or two and get to chose exactly what they wanted.


My friend, Alannah, owns my favorite bakery and she is amazing with mini cupcakes. I am blown away by the array of flavors and her attention to detail. They are all beautiful!


Happy birthday, Quin! We can't believe how quickly you are growing. You are a wonderful daughter, friend, sister... We love you!

Sunday, June 6, 2010

A Week of Birthday Posts - #2 - Two Summer Time Organic Lemonade Recipes


Every year at the same time the strawberries are suddenly half the price they were in the winter, I can get organic lemons by the bag, and fresh rhubarb is available. All of this coincides with my husband and daughters' birthdays. One of the special things I like to do for them is to make fresh lemonade. It is worth all of the effort and it is fun for my daughter and I to make together. Plus, it is always a hit with both adults and kids at a kid's birthday party, so this year we served it at my daughter's tea party. I would like to thank my friend, Jano, from Maine, for the following recipes, which I adapted to be organic and I have had in my collection for years.

Fresh Squeezed Lemonade
Recipe by Jano

This recipe is perfect for kids, who seem to find the second version a bit to tart and pulpy.

Ingredients:
~ 1 cup fresh organic lemon juice (about 6 average sized lemons)
~ 3/4 cup organic natural cane sugar
~ 4 cups water

Directions:
1. Squeeze your lemons. There are several ways you can do this; by hand; using a juicer; or my favorite method which is to use a metal lemon squeezer, like I have in the photograph at the end of this recipe. There is nothing like having the proper tool for a job, and for lemonade this IS the one...
2. Bring sugar and water to a boil. When the sugar dissolves reduce the heat and simmer a minute or two more.
3. Add lemon juice. Let cool. Refrigerate. Enjoy!


Strawberry-Rhubarb Lemonade
By Jano

Ingredients:
~ 1 cup fresh organic lemon juice (about 6 average sized lemons)
~ 2 1/2 cups chopped rhubarb
~ 3/4 cup organic cane sugar
~ 4 cups water
~ Zest from one organic lemon
~ 1/2 t organic vanilla
~ 1 1/2 - 2 cups organic strawberries, chopped, plus 2-3 whole strawberries

Directions:
1. Squeeze your lemons.
2. Heat water, rhubarb, sugar, dash of lemon zest, and vanilla. Bring to boil. When sugar dissolves, reduce heat and simmer for 5 minutes, covered. Add chopped strawberries and boil again for two minutes, covered.
3. Cool mixture. Blend in food processor or blender. Add zest and lemon juice and blend. Pulse in whole strawberries if you want some fresh chunks.
4. Taste - adjust sweetness. Refrigerate. Serve.